
How to Plan a Spa-Inspired Bathroom
Simple design moves that bring a calm, luxurious feel to your everyday routine.
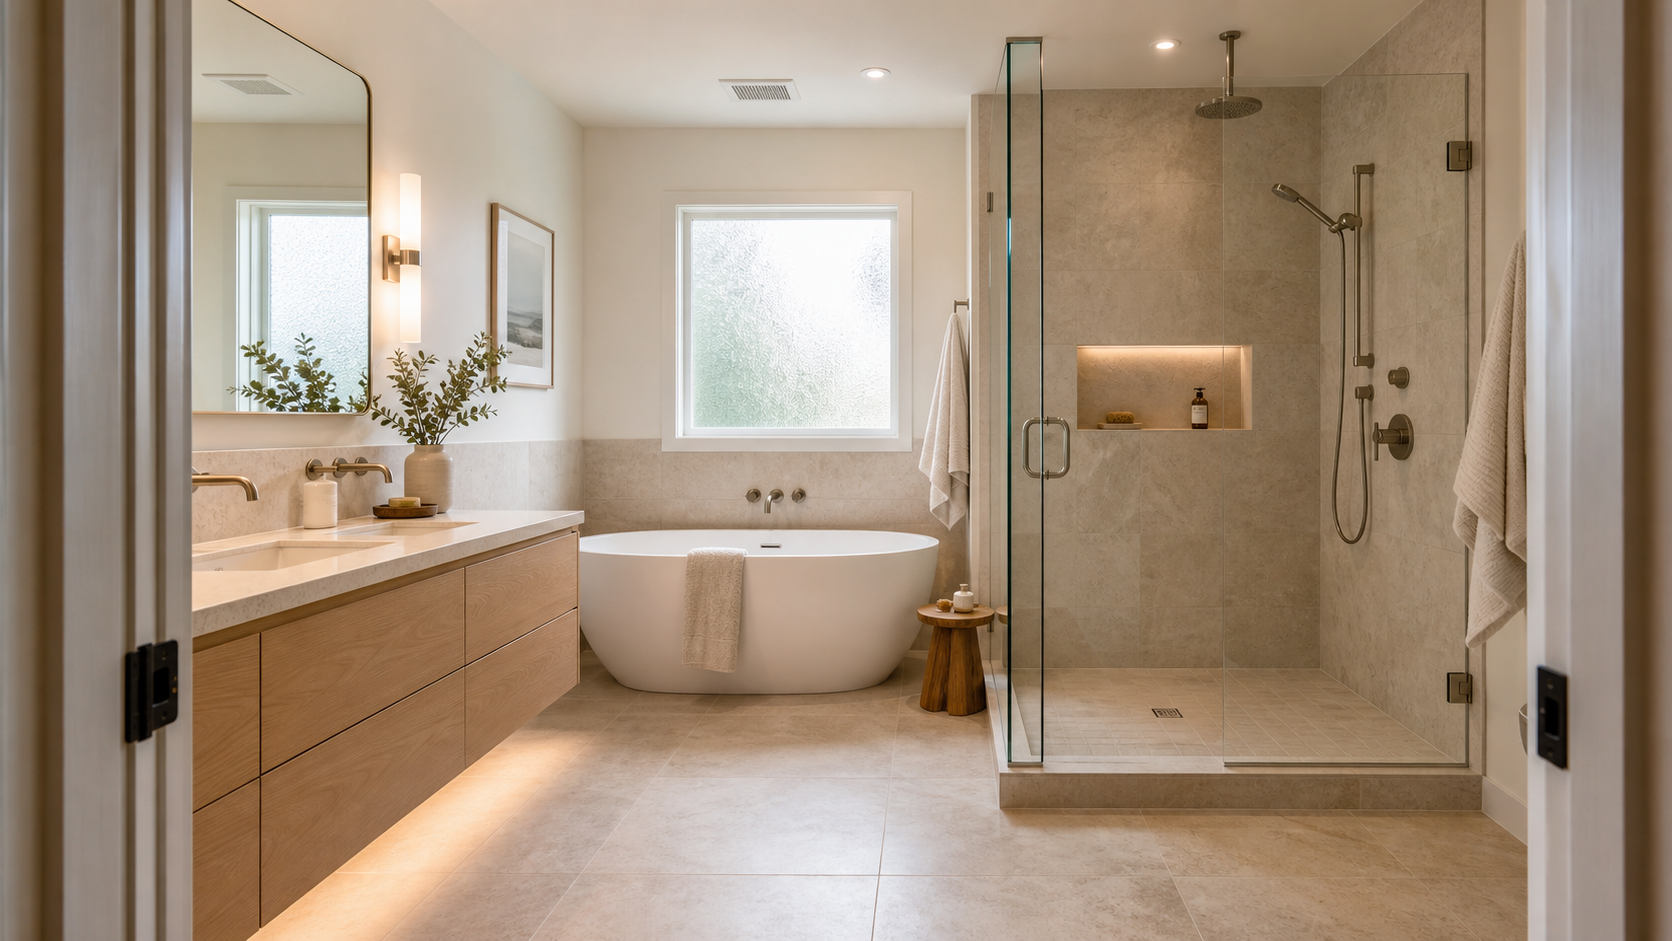
Concept image created for this article; it is not a photograph of a completed project.
A spa-inspired bathroom is not defined by one expensive feature. The strongest designs make ordinary routines easier: the room is comfortable to move through, water is contained where it belongs, storage is close at hand, task lighting is clear, and finishes can tolerate repeated exposure to moisture.
In Greater Vancouver, planning also has a regulatory side. A cosmetic update may be straightforward, but relocating plumbing, changing electrical work, moving walls or altering a strata lot can trigger permits or approvals. The right sequence is therefore scope, approvals, technical design, selections, construction and inspection, not finishes first and details later.
This guide explains how to build the spa feeling into that sequence without confusing design preferences with legal requirements.
1. Start with the routine, not the tile
Before choosing a bathtub or stone sample, list who uses the bathroom and how. Consider:
- whether two people need the vanity at the same time;
- whether the shower is used more often than the tub;
- where clean towels, toiletries, laundry and cleaning products will live;
- whether easier entry, a handheld shower or future grab-bar backing would improve long-term use;
- which features are essential and which are optional if the budget tightens.
Measure the existing room and record doors, windows, ceiling changes, plumbing locations, outlets, switches, heating and exhaust. A scaled plan helps reveal conflicts that are easy to miss in a mood board, for example, a vanity drawer that strikes a door, or a shower control that can only be reached after stepping under cold water.
Keeping fixtures near existing services may reduce disruption, but it should not be treated as a guarantee of lower cost or of permit exemption. The actual scope determines both.
2. Confirm permits before finalizing the layout
For property inside the City of Vancouver, the City's renovation guidance says permits are generally required when a project installs or moves plumbing, electrical or gas lines, moves interior walls, or makes structural changes. By contrast, painting and replacing cabinets, flooring or fixtures are listed as work that does not normally require a building permit. Separate trade-permit rules still apply.
The City's plumbing guidance is more specific: a plumbing permit is required to install, change or upgrade part of a plumbing system. Repairing or replacing a faucet or valve, or replacing a fixture in the same location, is listed among the limited activities that do not require a plumbing permit. If the plan relocates a sink, shower, tub or drain, assume the permit question must be resolved before construction.
The City also states that electrical permits are required for electrical work except for narrow listed exemptions, such as certain like-for-like replacements. New lighting locations, receptacles, in-floor heating or altered circuits should therefore be reviewed by a qualified electrical contractor rather than treated as cosmetic work.
Bathroom updates may qualify for Vancouver's Residential Renovation Fast Track when the project meets the City's current eligibility rules; the City lists bathroom and kitchen updates as eligible examples and excludes structural alterations. Eligibility is not the same as automatic approval.
Municipal rules are not identical across Greater Vancouver. A Burnaby, Richmond, Surrey or North Vancouver project must be checked with that municipality. Within the City of Vancouver, the Vancouver Building By-law applies; do not substitute a generic checklist from another B.C. jurisdiction.
3. Create clear wet and dry zones
A calm room is easy to read. Group the shower and tub into a wet zone and keep the vanity, storage and main circulation in a drier zone where the plan allows. This reduces splash exposure and makes cleaning simpler.
Useful planning moves include:
- placing towel storage where it can be reached without crossing the room wet;
- locating shower controls near the entrance to the enclosure;
- allowing doors, drawers and glass panels to operate without collisions;
- retaining access to shutoffs, traps and equipment that may need service;
- checking that a low-threshold or curbless shower can be coordinated with floor structure, slope and drainage before it becomes a design promise.
A curbless shower can improve visual continuity and reduce a trip point, but it is a technical assembly rather than just a glass-and-tile detail. Drain position, waterproofing transitions, floor elevation and slope must be designed together.
4. Treat moisture control as the foundation
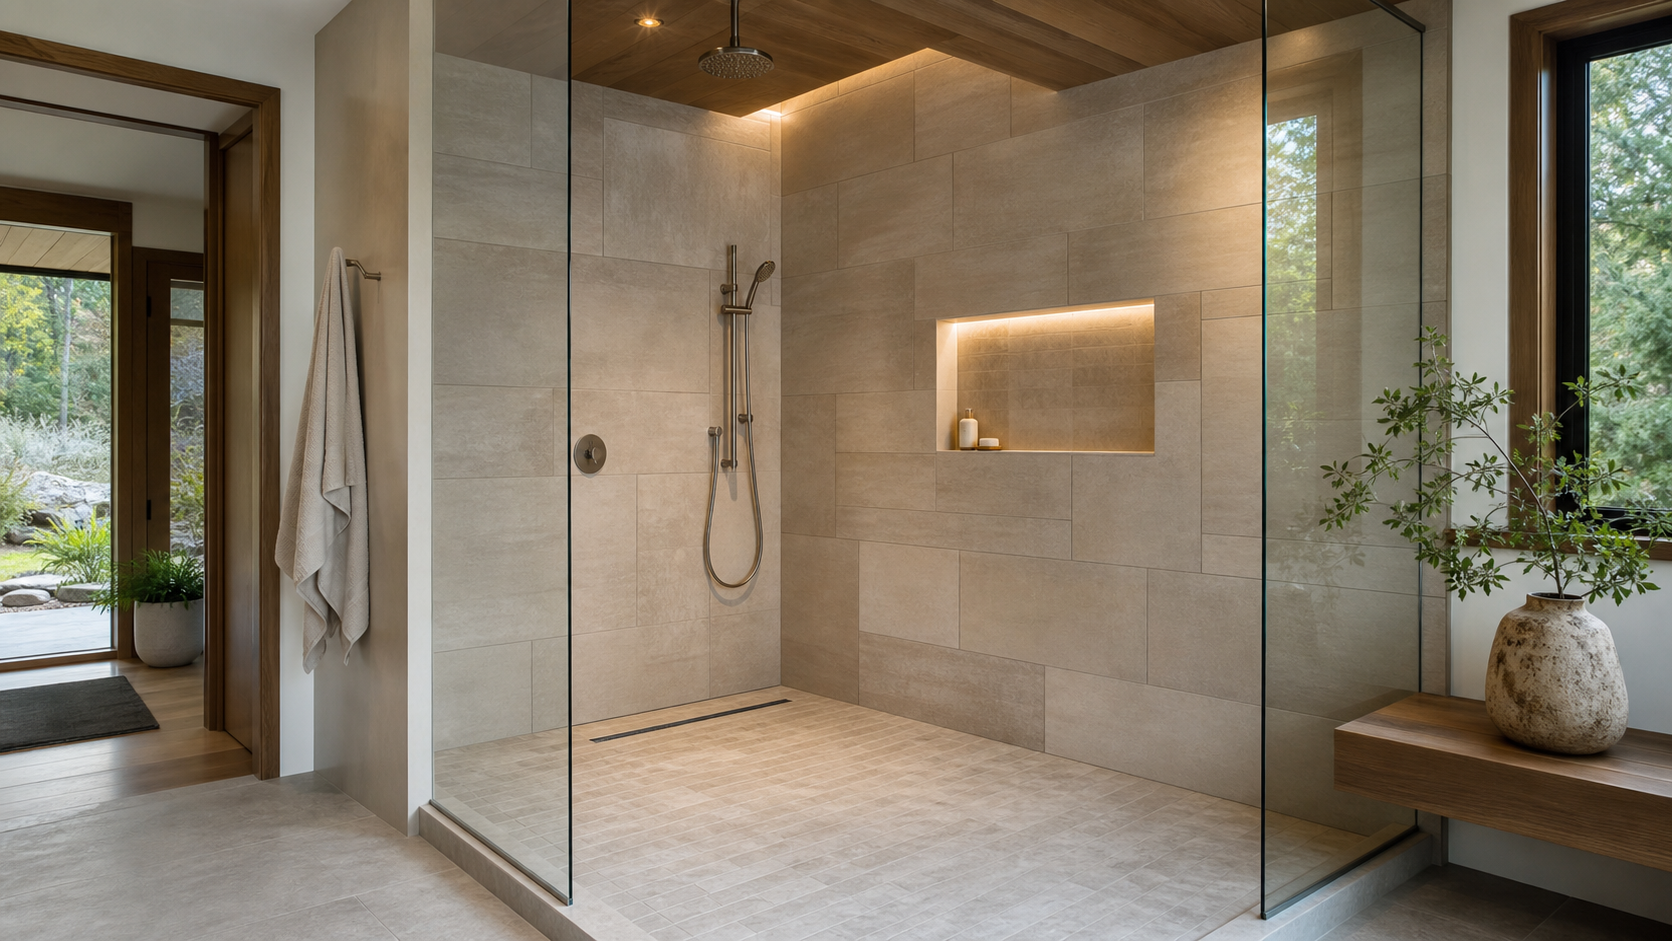
Concept image created for this article.
Bathrooms repeatedly generate liquid water and water vapour. Health Canada advises homeowners to fix moisture problems and control indoor humidity; its guidance also says bathroom exhaust fans should vent outdoors. An exhaust fan that terminates in an attic or other enclosed space merely moves the moisture problem.
For the wet area, specify a complete, compatible waterproofing and drainage system. The substrate, membrane, seams, penetrations, drain connection, setting material and sealants must be coordinated according to the approved design and the manufacturers' instructions. Tile and grout are finish materials; they should not be described as the sole waterproofing layer.
Before finishes conceal the work, the contractor should verify:
- the required inspections for the permitted scope;
- the continuity of the specified waterproofing system;
- shower-floor drainage and slope;
- sealed penetrations and transitions;
- outdoor discharge for the exhaust system;
- access to components that require future service.
Permit inspections do not replace the contractor's quality-control process, and a product warranty does not replace correct installation.
5. Choose the shower and tub by use
A large shower is often more valuable in daily life than a tub that is rarely used. Conversely, a well-placed soaking tub may be central to the client's routine. The plan should reflect actual use, not a formula for what a luxury bathroom is “supposed” to contain.
For a shower, consider a handheld spray, reachable controls, a properly detailed niche and, where space permits, a bench or ledge. These features can improve comfort and cleaning, but their exact locations must be coordinated with wall framing, plumbing and waterproofing.
For a freestanding tub, confirm more than its exterior dimensions. Check entry and cleaning clearance, filler location, drain and overflow coordination, floor capacity where relevant, and the available hot-water supply. A deep tub that cannot be filled comfortably is not a successful upgrade.
Any accessibility objective should be documented at the beginning of design. Features such as a low threshold, lever controls, adequate maneuvering space, reinforced wall backing and a handheld shower may support future use, but a collection of individual features should not be advertised as “accessible” or “code-compliant” without a qualified review of the complete design.
6. Use a restrained material palette
A spa atmosphere usually comes from visual continuity rather than a large number of finishes. One dominant floor or wall surface, one wood tone and one metal finish can create a quieter result than several competing feature materials.
Porcelain tile can reproduce stone-like colour and texture without being natural stone; natural stone has its own variation and maintenance requirements. Neither option is automatically correct for every wet location. Ask for technical data and confirm that the selected surface, finish, setting materials and maintenance instructions suit the intended floor or wall application.
Large-format tile can reduce the number of grout joints, but it places greater demands on substrate preparation, layout and installation. Small-format tile may make it easier to form complex shower-floor slopes. The final selection should follow the geometry and technical design rather than appearance alone.
For floors, assess traction in the actual intended use and obtain the manufacturer's test information where available. Avoid promising that a floor is “non-slip”: water, soap, maintenance products, footwear and surface wear all affect slip risk.
7. Specify fixtures as a working system
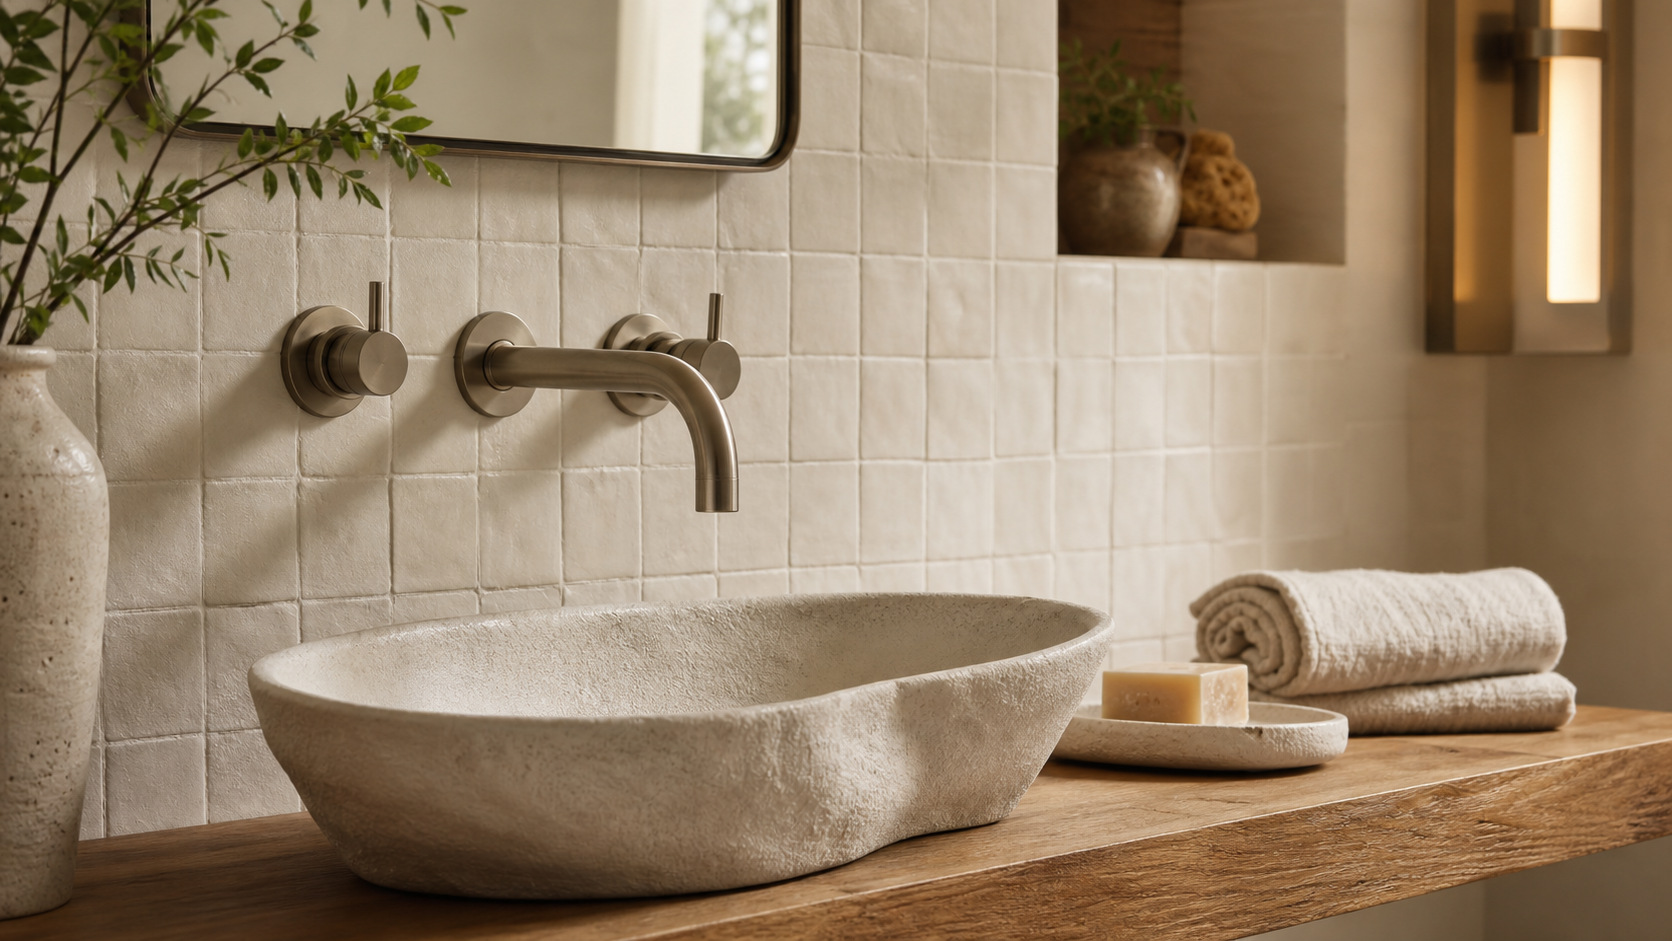
Concept image created for this article.
Matching faucet finishes creates visual order, but performance depends on what sits behind the finish. Before ordering, coordinate valve bodies, trim, supply and drain connections, fixture dimensions, water pressure requirements, hot-water demand and service access.
Wall-mounted faucets and concealed shower valves require accurate rough-in positions before the wall is closed. Mixing products from unrelated systems can create compatibility and warranty problems. Have the plumber verify the selected components against the approved drawings and installation instructions.
Water-efficient fixtures may reduce consumption, but do not infer performance from appearance or a marketing name. Compare published flow rates and applicable product certifications, then choose the lowest flow that still meets the household's practical needs and the applicable requirements.
8. Layer the lighting
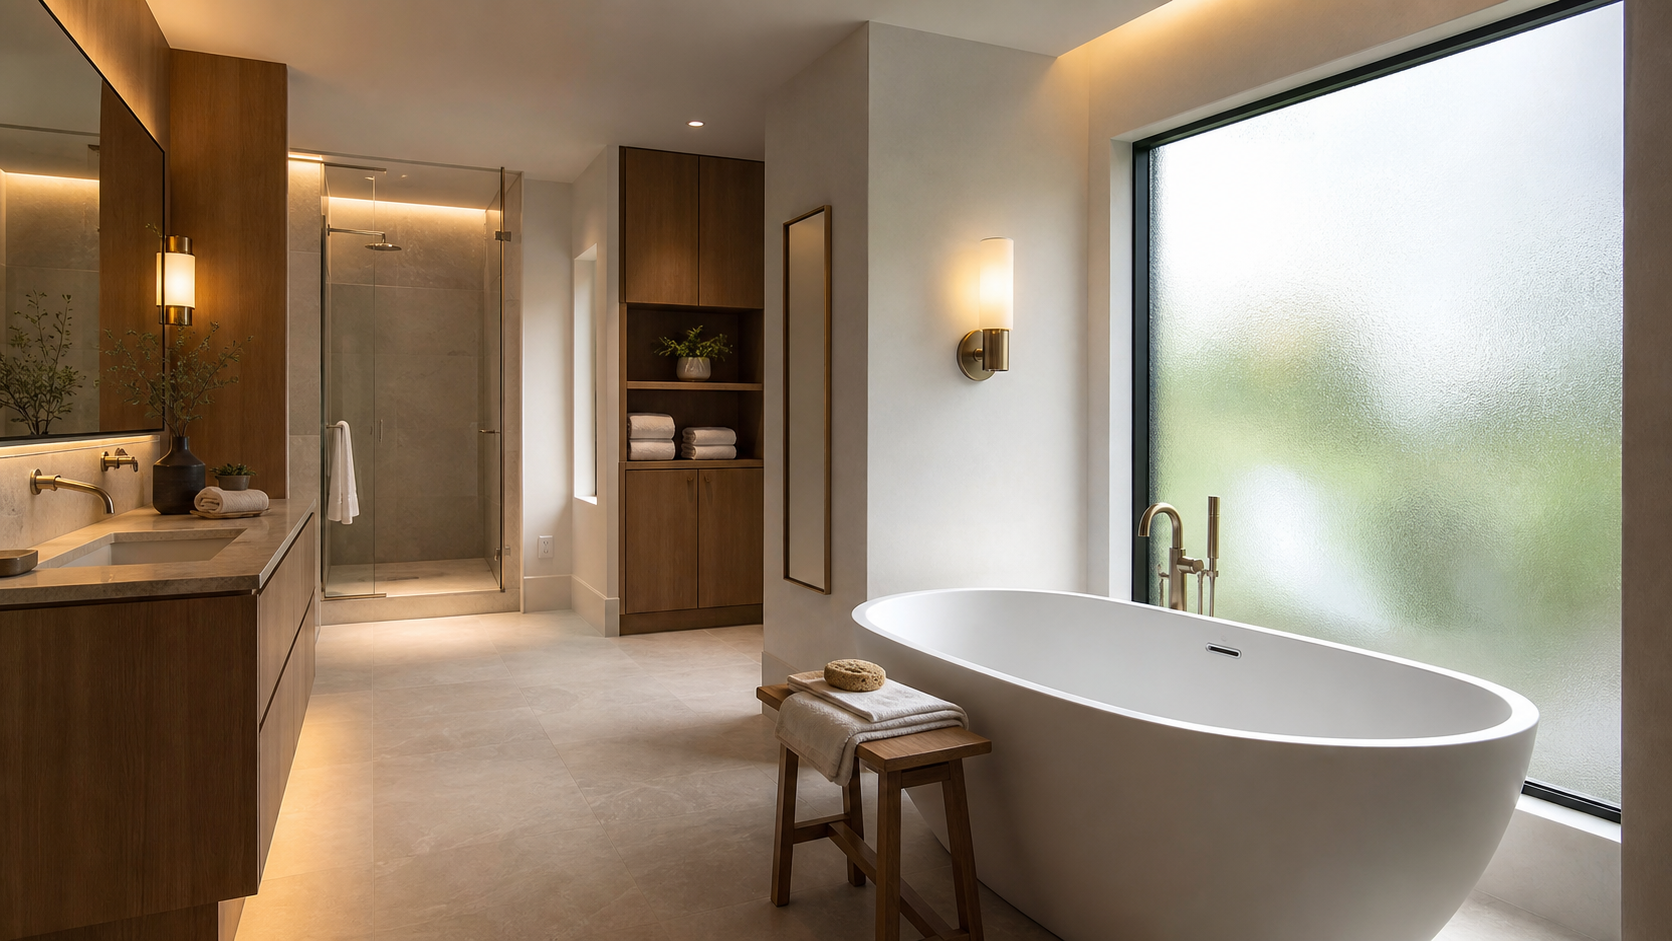
Concept image created for this article.
One ceiling light rarely provides both flattering mirror illumination and a relaxing atmosphere. A more flexible plan combines:
- Task light at the mirror for grooming;
- Ambient light for safe movement through the room;
- Optional accent light in a niche, toe-kick or cove for a softer evening setting.
Keep colour appearance consistent across fixtures, and use dimming only where the selected lamps, drivers and controls are compatible. Decorative light fittings, fans and electrical equipment must be suitable for their intended location.
Electrical layouts in bathrooms involve wet-location constraints and permit requirements. Let the licensed electrical contractor determine the compliant equipment, protection and placement for the actual plan. A design article cannot replace that site-specific review.
9. Make storage part of the architecture
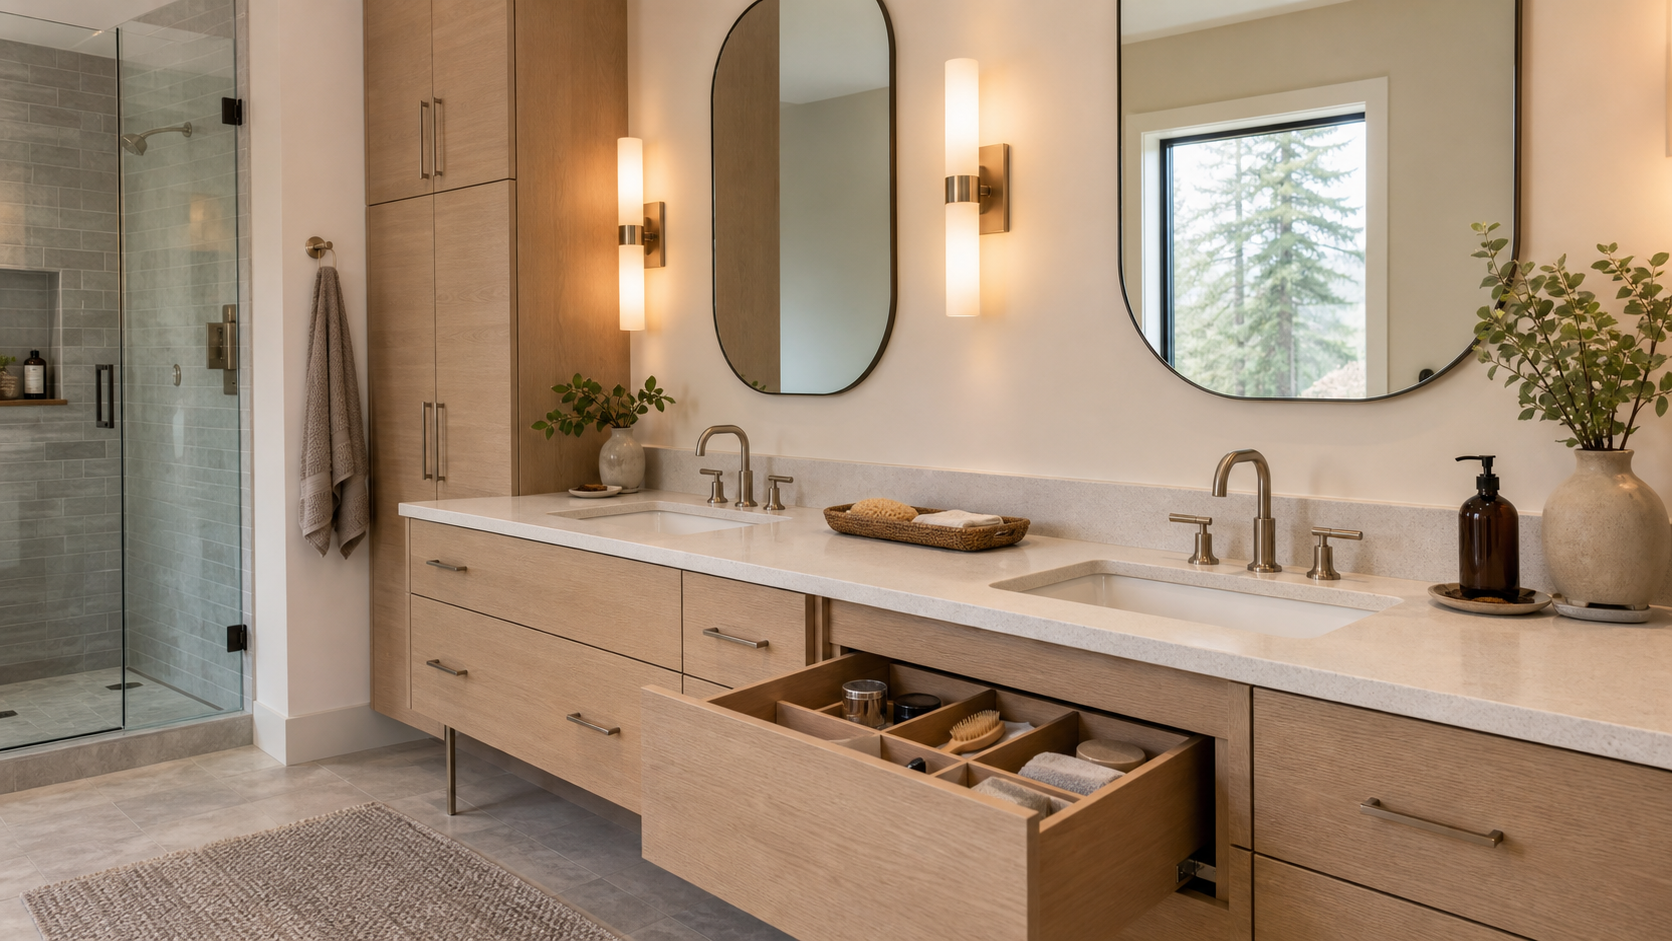
Concept image created for this article.
The room feels calmer when daily items can be put away quickly. Deep drawers usually make small items easier to see than a large undivided cabinet. A tall cabinet can hold towels and bulk supplies, while a recessed medicine cabinet may add shallow storage at eye level.
Plan around plumbing, receptacles and ventilation rather than discovering conflicts during installation. If powered grooming tools will be stored inside a cabinet, electrical provisions and product suitability require professional coordination; do not improvise concealed power connections.
Select cabinet materials and finishes intended for bathroom humidity, provide the clearances required by the manufacturer, and wipe up standing water rather than assuming any wood product is waterproof.
10. Plan construction, commissioning and maintenance
Before work begins, the drawings and specification should identify the fixture schedule, tile layout, grout and sealant colours, cabinet details, lighting, ventilation, waterproofing system and responsibility for permits and inspections. This reduces reliance on verbal assumptions.
During construction, document approved changes in writing. At completion:
- confirm required municipal inspections have passed and permits can be finalized;
- test faucets, shower controls, drains, fan operation, lights, heating and accessories;
- check doors, drawers, glass and service panels;
- obtain product manuals, care instructions and warranty documents;
- record the locations of shutoffs and any concealed backing.
The City of Vancouver says work performed under plumbing and electrical permits must be inspected to finalize those permits. Approved plans and permit documents should be available at the site when required for inspection.
Maintenance preserves both appearance and performance. Run the exhaust fan during moisture-producing use and long enough afterward to help clear humidity, following the fan manufacturer's guidance. Clean with products approved for the installed surfaces, maintain sealant joints, and investigate recurring condensation, leaks, stains or musty odours promptly rather than covering them.
Special note for strata properties
A municipal permit and strata approval are separate matters. Under B.C.'s standard strata bylaws, an owner must obtain written strata-corporation approval before certain alterations involving the structure, common property, common assets and specified building systems. Plumbing routed through common property, changes to exterior vents, waterproofing interfaces and noise-producing work may therefore need strata review even when the work is inside a unit.
The standard bylaws are only a starting point: a strata corporation may have filed different bylaws and renovation procedures. Review the current registered bylaws, alteration agreement, insurance conditions, work-hour rules and contractor requirements before committing to the scope.
A practical pre-construction checklist
- Define the household's routine, priorities and future-use goals.
- Measure and document existing services and conditions.
- Confirm the property's municipality and, where relevant, strata requirements.
- Determine building, plumbing, electrical and other permit needs before demolition.
- Finalize the wet-area assembly, drainage and ventilation strategy.
- Coordinate fixtures, valves and rough-ins before ordering.
- Approve drawings, selections, responsibilities and a written change process.
- Keep required permit documents available for inspections.
- Test systems, close permits and collect care information at handover.
Frequently Asked Questions
Does every bathroom renovation in Vancouver require a building permit?
No. The City lists painting and replacement of fixtures, cabinets and flooring among work that does not normally require a building permit. Moving walls, making structural changes, or installing or relocating plumbing or electrical work can require building and/or trade permits. The exact scope must be checked with the City.
Can a toilet, sink or tub be replaced without a plumbing permit?
City guidance lists fixture replacement in the same location as work that does not require a plumbing permit. Relocation or alteration of the plumbing system is different and generally requires one. Other municipalities may use different procedures.
How long will the renovation take?
There is no reliable universal duration. Design decisions, permit review, product lead times, hidden conditions, inspections and scope changes all affect the schedule. A responsible project schedule should be based on the completed scope and actual procurement information.
How much does a spa-inspired bathroom cost?
There is no defensible single figure without a measured scope. Layout changes, plumbing and electrical work, custom cabinetry, tile complexity, fixture selections, access conditions and concealed damage can materially change cost. Budget with a scope-based estimate and a contingency appropriate to the project's uncertainty.
Is natural stone required for a luxury result?
No. A coherent layout, good lighting, controlled moisture, careful detailing and consistent materials matter more than a particular surface. Natural stone and porcelain have different appearance, installation and care considerations; select them by application and documented product information.
The regulatory information in this article was checked on July 30, 2026. This is general educational information, not architectural, engineering, legal or permit advice. Requirements and administrative processes can change, so confirm the current rules for the project address with the City of Vancouver (or the municipality with jurisdiction) and qualified professionals. Images are illustrative concept images and are not photographs of completed Golden Shore projects.
Planning a Bathroom Renovation in North Vancouver?
Book a free in-home consultation and we will help you plan layout, moisture control, lighting and approvals before demolition begins.
Get a Free Quote GSHC
GSHC 